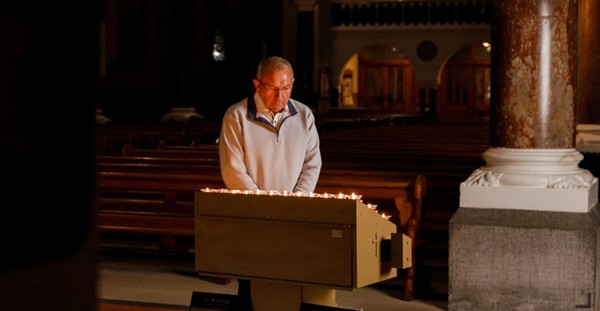
Maintenance – 1 Glass System
Full service is recommended every 2-4 weeks – depending on how busy your church is.
Step 1 – Extinguish Candles
Extinguish any lit candles before beginning maintenance.
Allow all components to cool fully before proceeding..
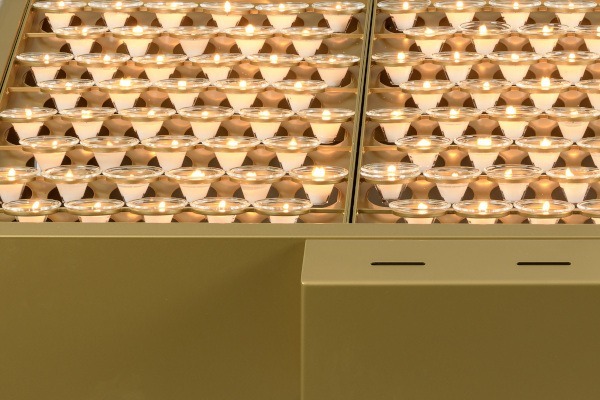
Step 02 – Assessing the Glasses
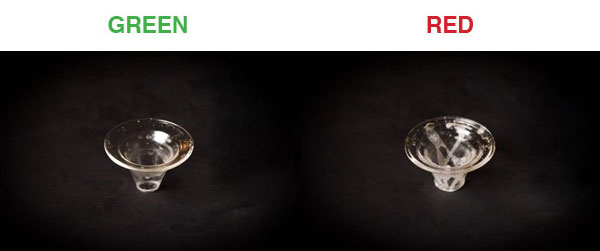
The Traffic Light System
Use the St. Killians Traffic Light System as a guide:
GREEN = OK to go back onto unit once service is complete.
RED = This glass needs to be changed. We provide a glass cleaning service for you to avail of, otherwise, please remove excess wax, wash, dry and reuse again on candle stand.
Step 03 – Removing Glasses
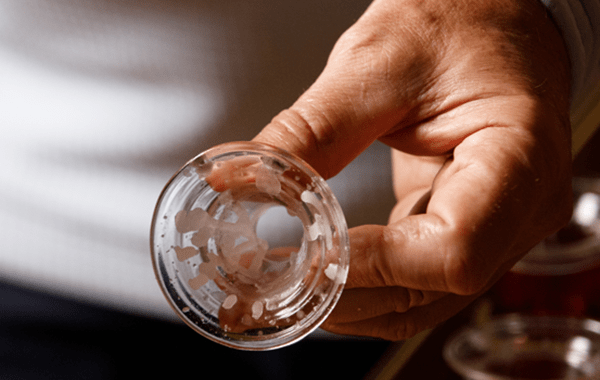
Carefully remove only the glasses identified for replacement.
Set them aside for cleaning or placement into the St Killians Glass Exchange boxes.
Step 04 – Remove Top Retro
Carefully remove the top retro with glasses from the stand.
Place it securely aside for servicing.
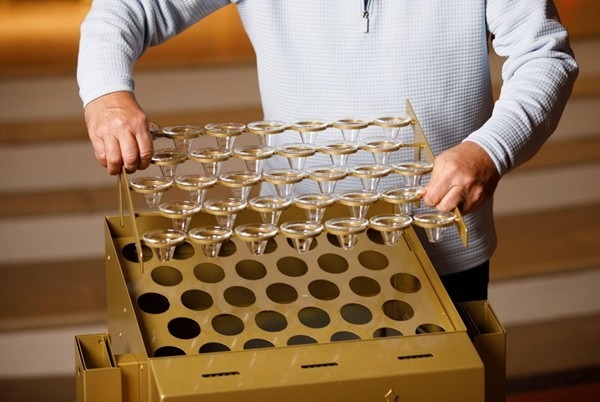
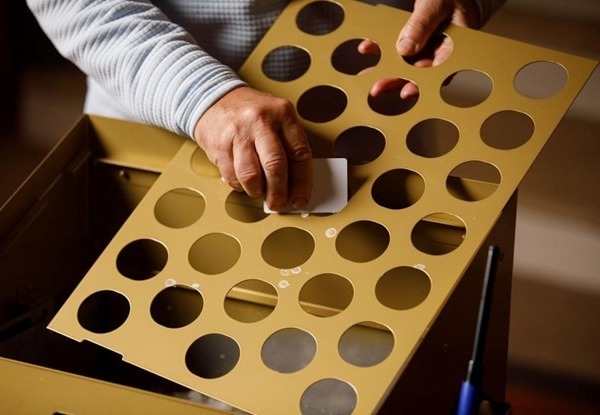
Step 05 – Cleaning Bottom Retro
Lift the bottom retro and place it safely to one side.
Using the plastic scraper provided, gently remove any excess wax from the surface.
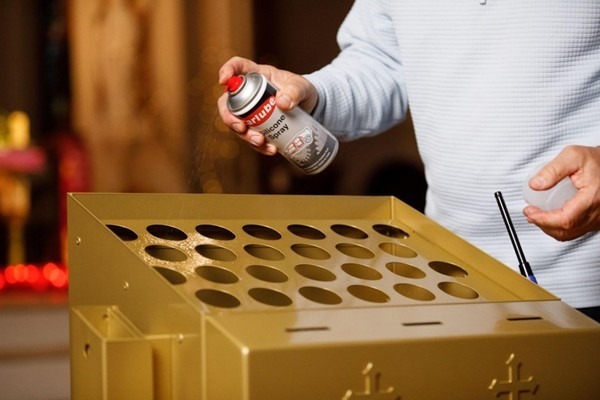
Step 06 – Silicone Treatment
Apply a light coat of silicone spray to the metal surface.
Safety Note:
Follow instructions on the spray can.
Allow the silicone to dry before relighting candles.
Set the bottom retro securely aside.
Step 07 – Water Tray Maintenance
Remove solidified wax from the water tray.
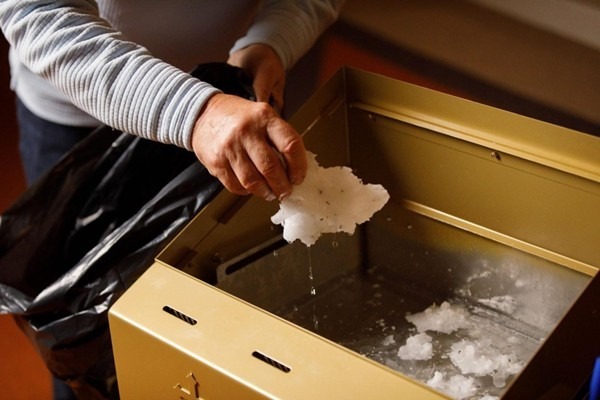
IMPORTANT:
Wax should be removed from the tray twice per week.
Ensure:
● water level remains between 1.5”–2”
● top up if required
Maintaining correct water depth ensures safe extinguishing of candles.
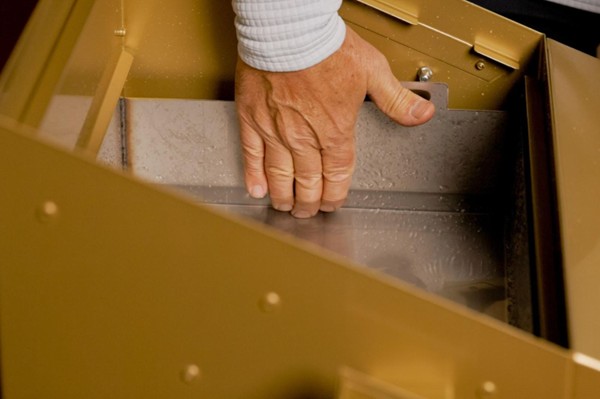
Step 08 – Reinstall Bottom Retro
Return the bottom retro securely to the stand.
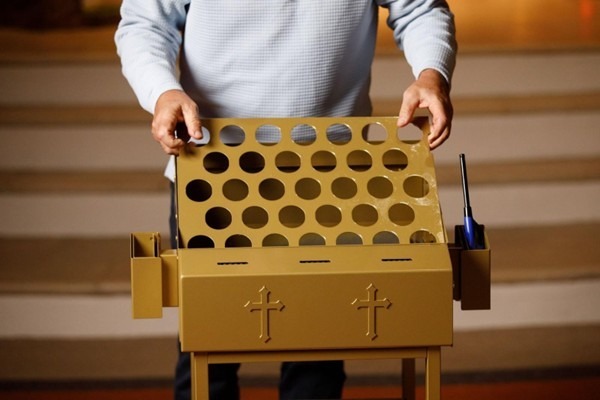
Step 09 – Reassembly
Replace the top retro to the stand.
When positioning the top retro:
Ensure the front edge is placed first, followed by the back supports.
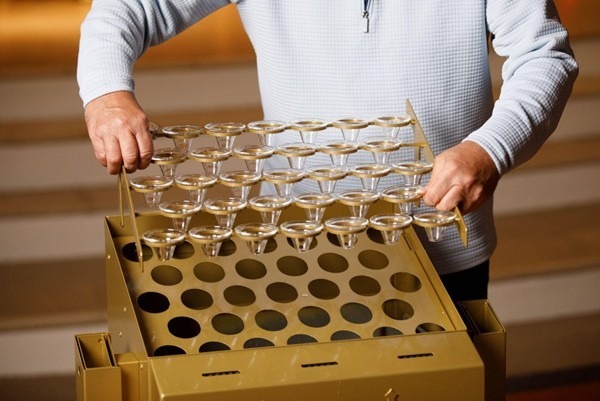
Insert clean glasses into position.
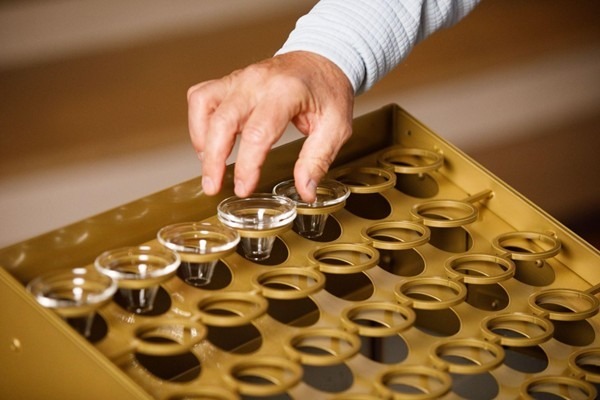
Final Step
Your candle stand is now fully restored – clean, safe and ready to welcome every prayer and intention.